


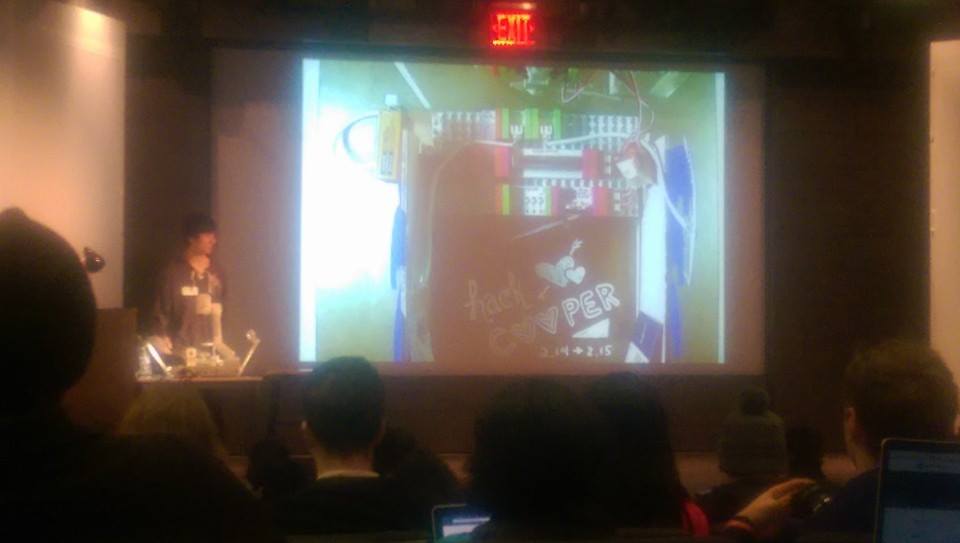
Adventures in HackCooper 2015
When the volunteers announced the official start of HackCooper, I made a mental declaration: "Today is the day you actually write your own code and become a -real- hacker!" 24 hours of stress, struggles, and some happy coincidences later, me (Steven) and my sister somehow ended up with two awards for a hardware hack that contained absolutely zero code.
First Difficulties: The struggle begins
My CS major roommate was originally supposed to come to the hackathon with me and do most of the coding, but he applied too late and missed the cutoff. No big deal, I thought. I know enough programming to work through some tutorials and figure something out. Beginners go to hackathons all the time, how hard could it be for me to make something?
My first idea was to make some sort of simple web app. I never made anything with an API before, so I would have been happy just learning how to do that. I have a friend who made their first hackathon hack (a web app that helped you decide what food to eat) by just using a ridiculously long conditional statement, but I wanted to challenge myself. By the time kickoff ended, I had read through a bunch of tutorials on my phone and was all ready to put something together.
Unfortunately, my laptop decided that it would be fun to freeze and auto-restart itself every 5 minutes so I had to think of something else. My sister brought her Macbook with her, but any downloads we attempted were settling at an estimated time between 15 and 20 hours. We got lunch, went to the hacker meet & greet, talked with the first sponsors we saw (The lovely people from Yodle who didn't actually have an API but gave us lots of schwag and business cards)...but when we returned and the estimated time somehow rose to 50 hours, we gave up and went to visit the hardware room.
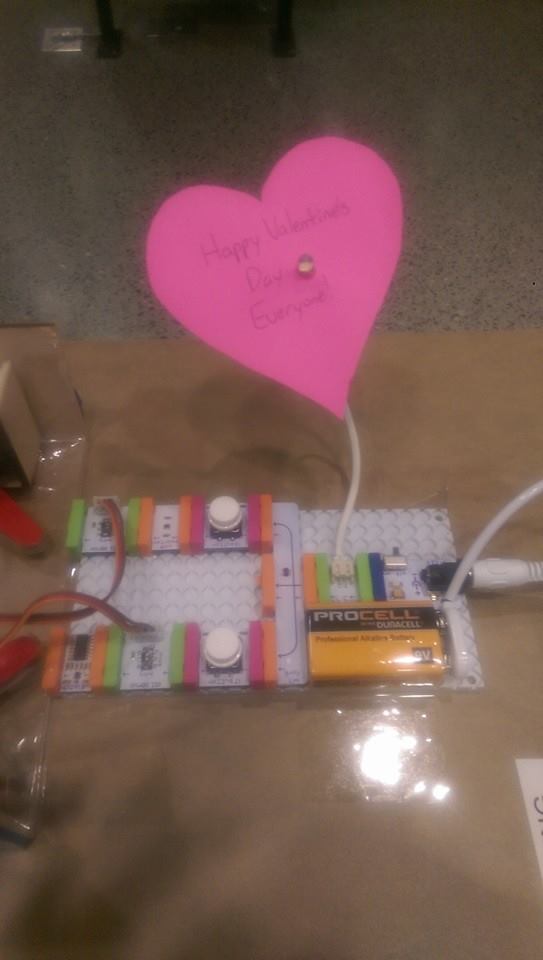
Choosing littleBits: two little, two late
We both really liked the short demonstration of littleBits at kickoff (I really like color coded things) so we asked if we could both borrow a kit. Unfortunately, by the time we got to the hardware room it was already cleared out by all the other teams. There was only one kit left and most of the individual extra parts they set out on the table were gone too.
Still, one kit was better than no kits. In fact, I'm glad that we were the last ones because having such limited resources actually helped. There weren't enough pieces to do any of the provided sample projects so we were forced to use our creativity and come up with something original. Having to design my own hack was way more fulfilling than just following numbered steps on a sheet, so I definitely lucked out with the short supply. It was sort of like...how Ash was lucky that he got to Professor Oak's lab too late to pick his starter Pokemon because he ended up getting Pikachu instead. Eh? Ehh?
Design Inspiration: Slipping upon the pinball idea
The kit we got was called the Arduino Coding Kit, so we looked up projects that used Arduinos. I found a really cool one that used two slide dimmers as controllers for a Pong game coded in Processing. Only one issue: there was only one slide dimmer left for us to take! Fortunately, I happened to have taken one single class in Processing several years ago, so I conjured up the confidence to try and modify the code. Even with my limited abilities, maybe it was possible to reverse engineer the code and tweak it to make something like Brick Breaker (it's just single player vertical Pong...how hard could that be?)
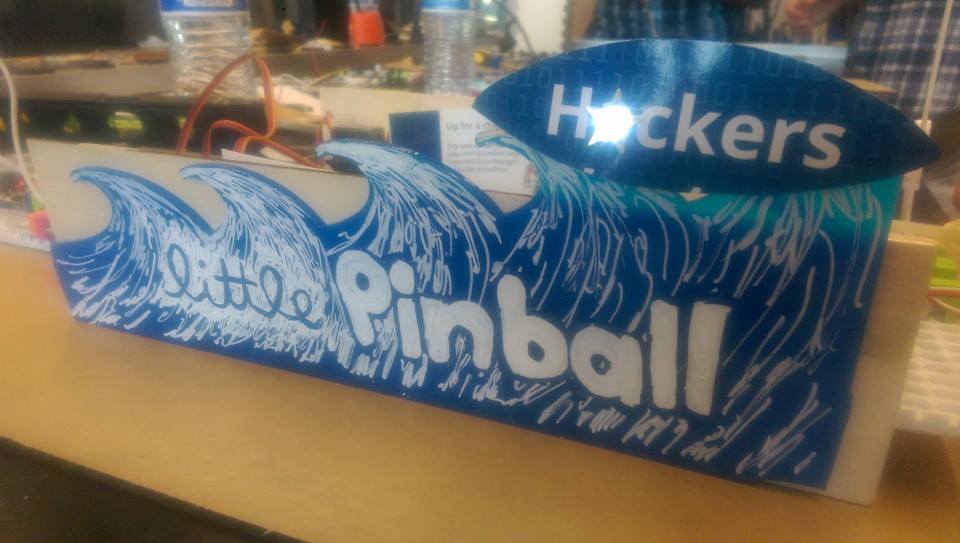
But of course, when the Arduino software download was estimated to finish in 10 hours, we had to scrap the idea of software altogether. While bumming around trying to think of something I could make, someone from the adjacent table asked me what I was doing. I tried to explain how I wanted to get Pong to work, but instead of Pong I accidentally said "Pin...I mean, Pong." And then it hit me...I could make a hardware-only pinball game! And that's how the idea for littlePinball was born. On another note, a side effect of that epiphany was that I mixed up Pinball and Ping-pong for the rest of the weekend which definitely confused a lot of people.
Materials: What we used to build littlePinball
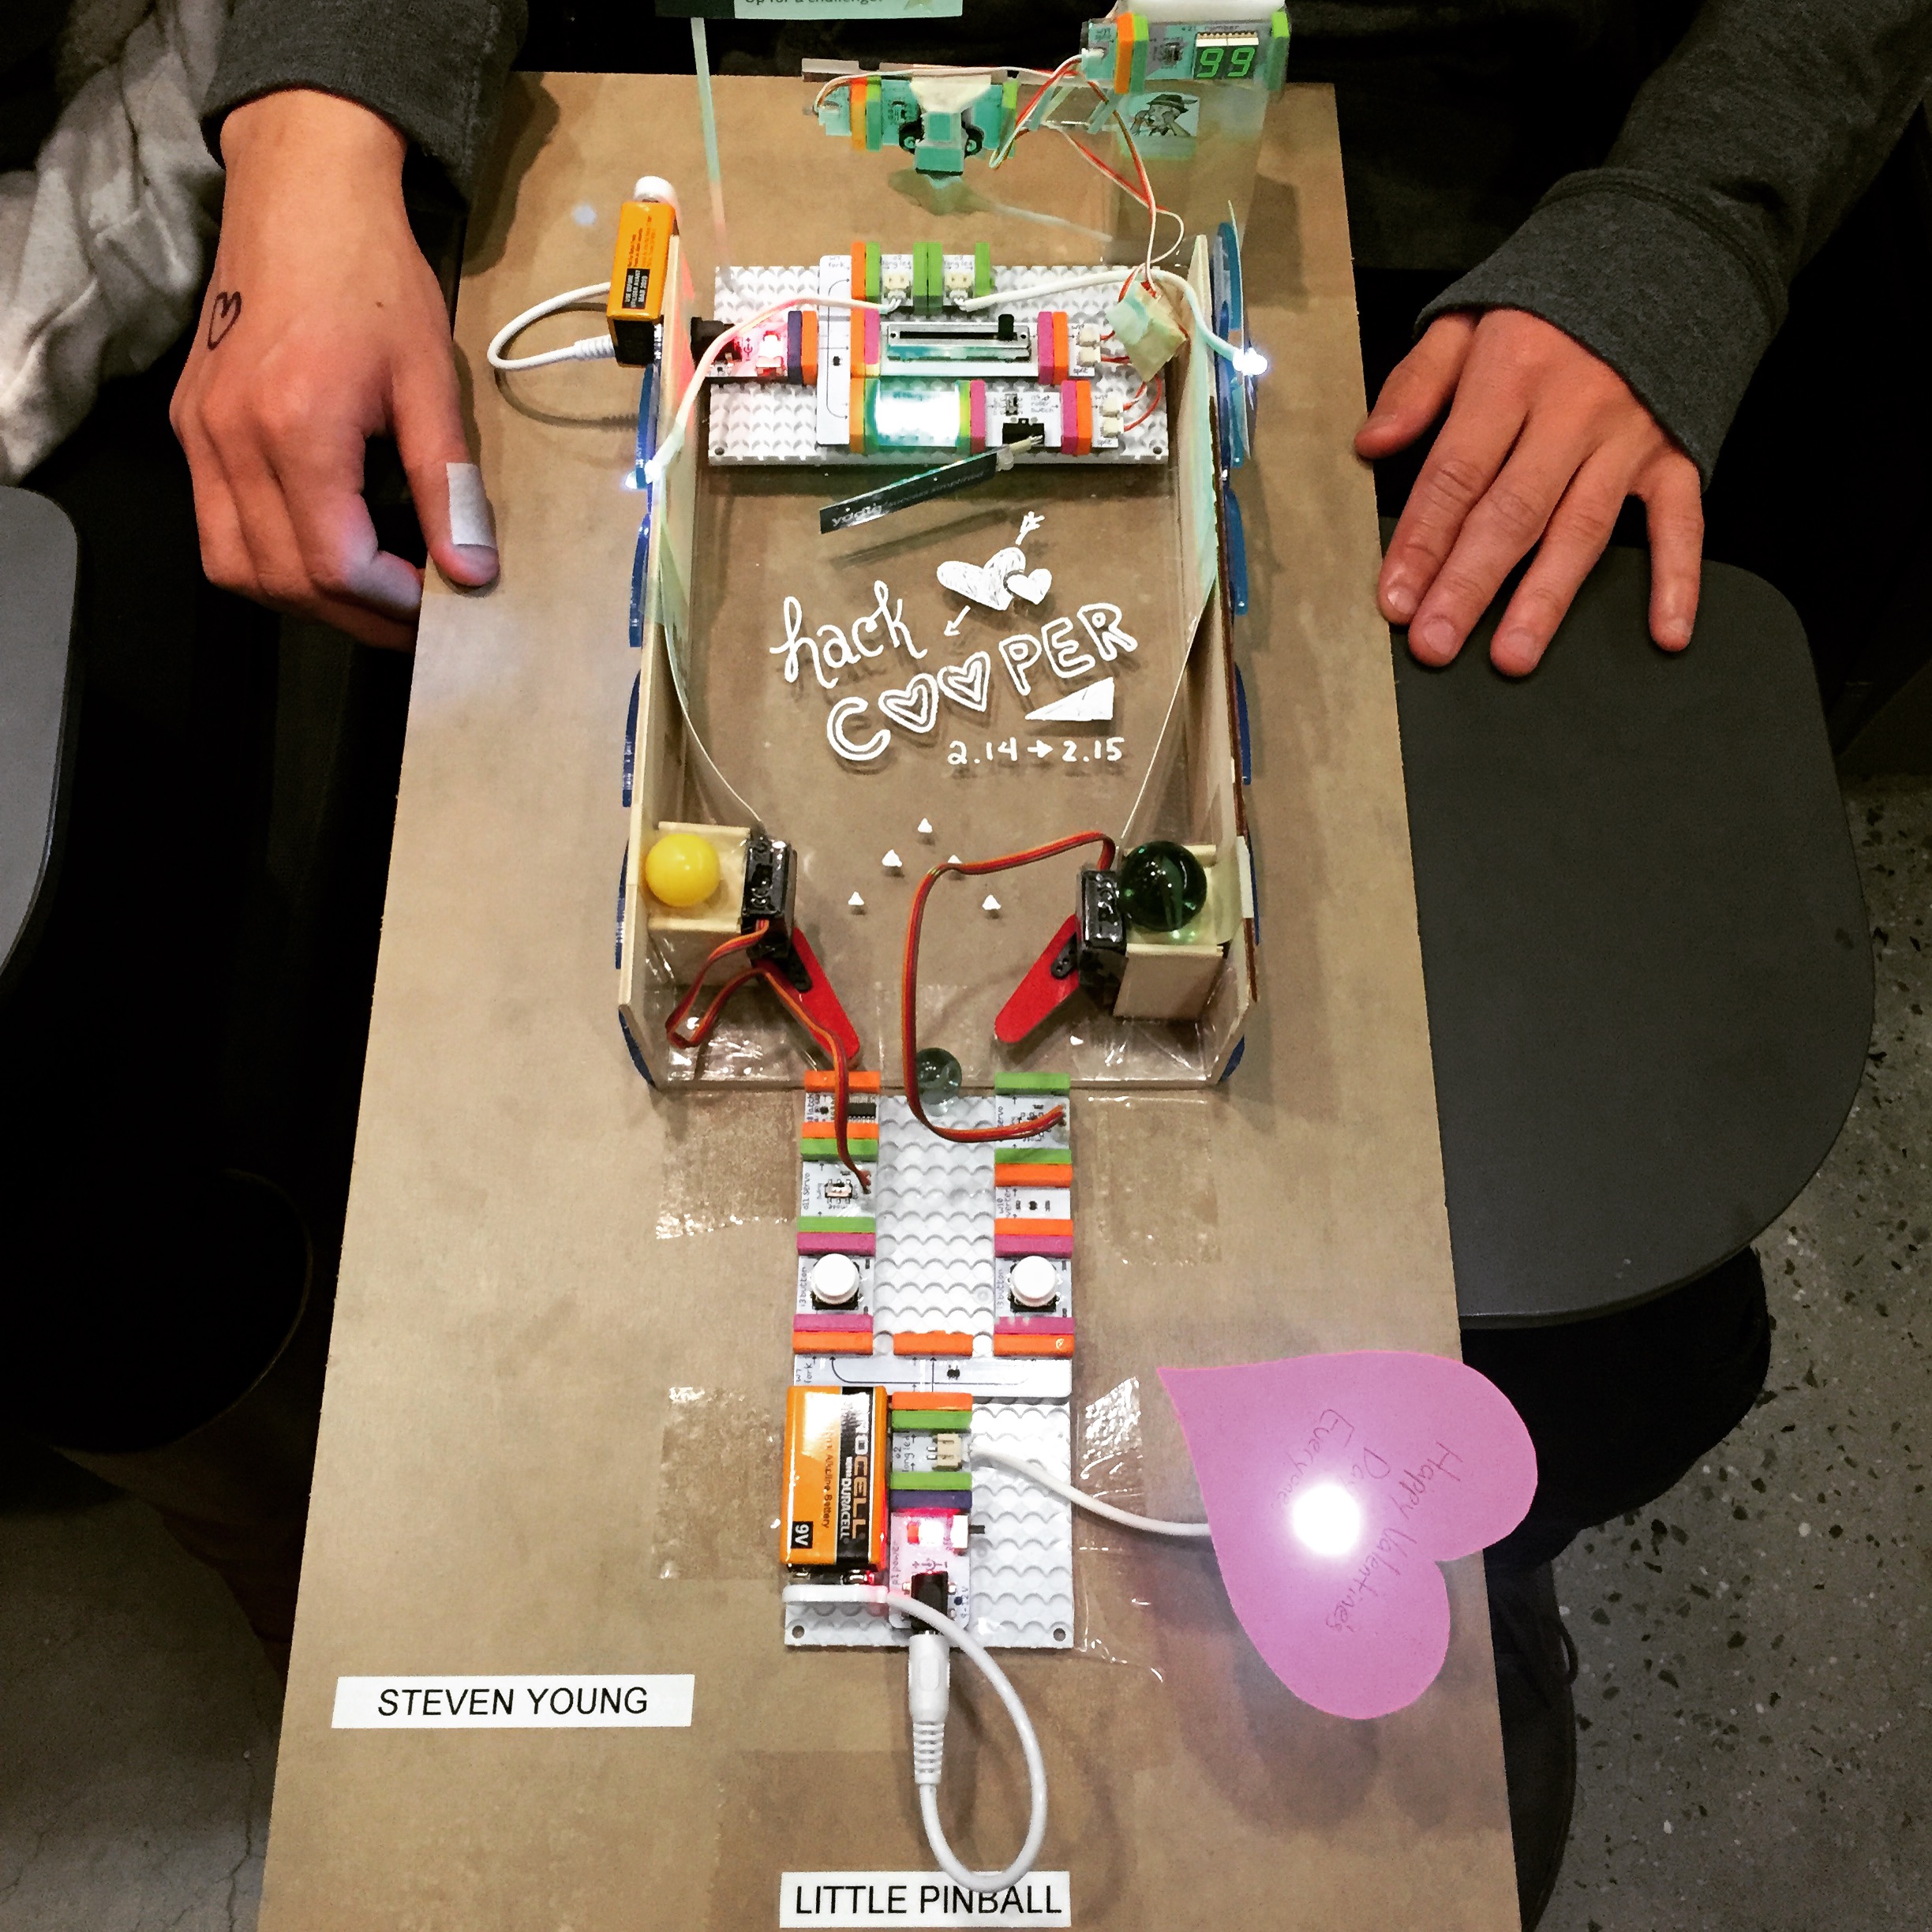
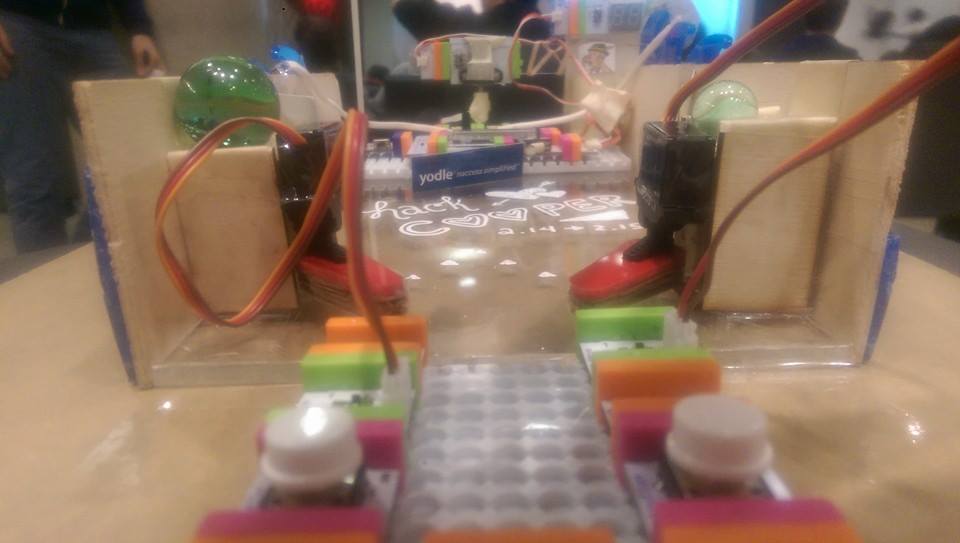
There are three main sections of littlePinball, the Controller, the Scoring, and the Table.
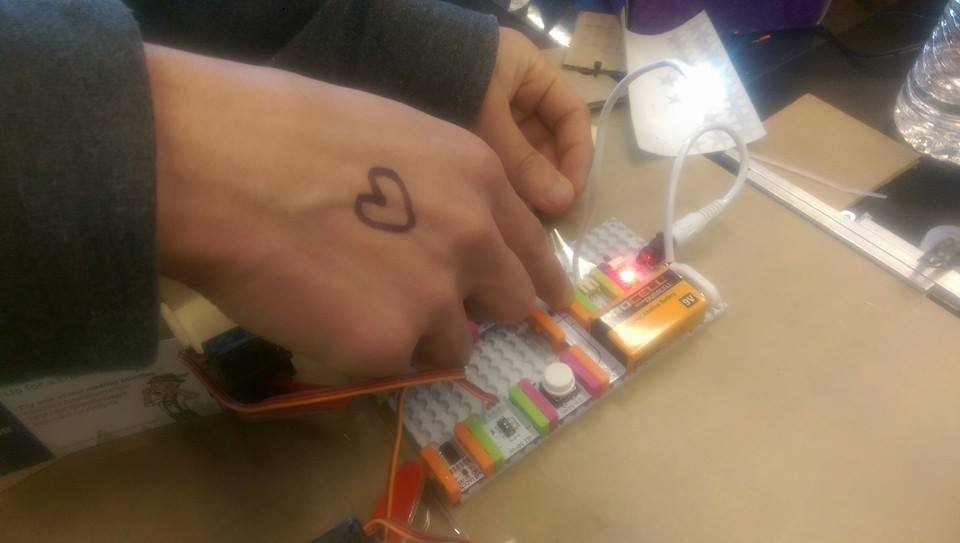
The Controller used:
2 Servos to move the flipper paddles
2 Inverters, one to make the servos turn in the right direction, and the other as a spacer because why not
2 Buttons to power the servos
1x Long LED originally for a complicated light sensor thing that powered a buzzer every time the pinball went past the paddles, but eventually demoted to decoration since we didn't have wires
1 Fork to split the two buttons (and the more or less unused long LED)
1 Power on/off switch
1 Battery+Cable to provide power
1 Mounting Board to keep everything together
2 small pieces of red acryllic for the paddles
6 small pieces of cardboard to increase the thickness under the paddle
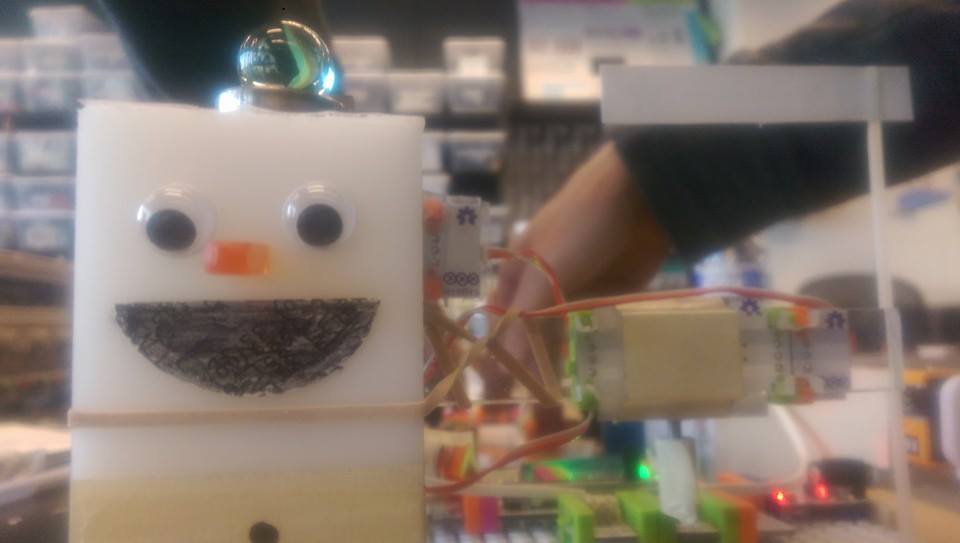
The Board used:
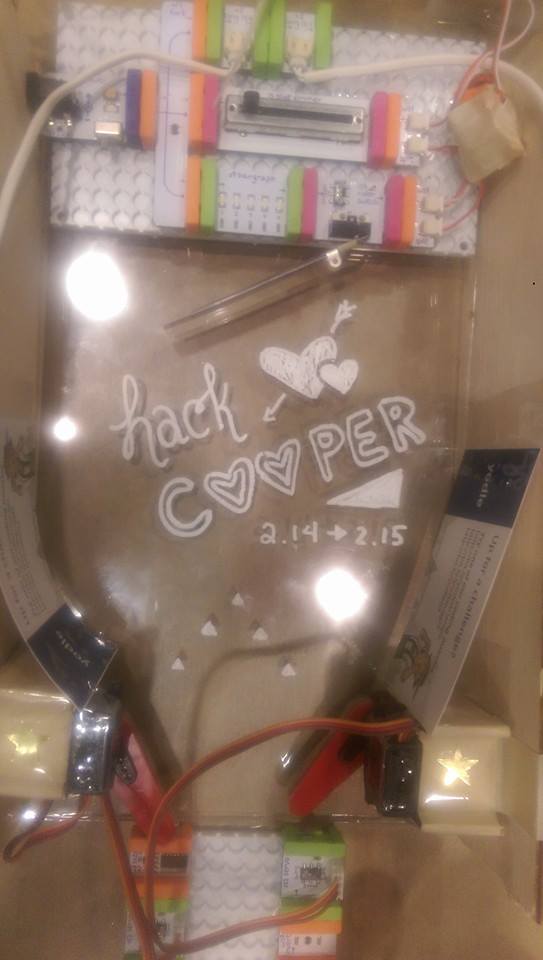
1 large piece of clear acrylic for the ramp
2 thin pieces of wood for the sides
Several small wooden squares to raise the servos/paddles
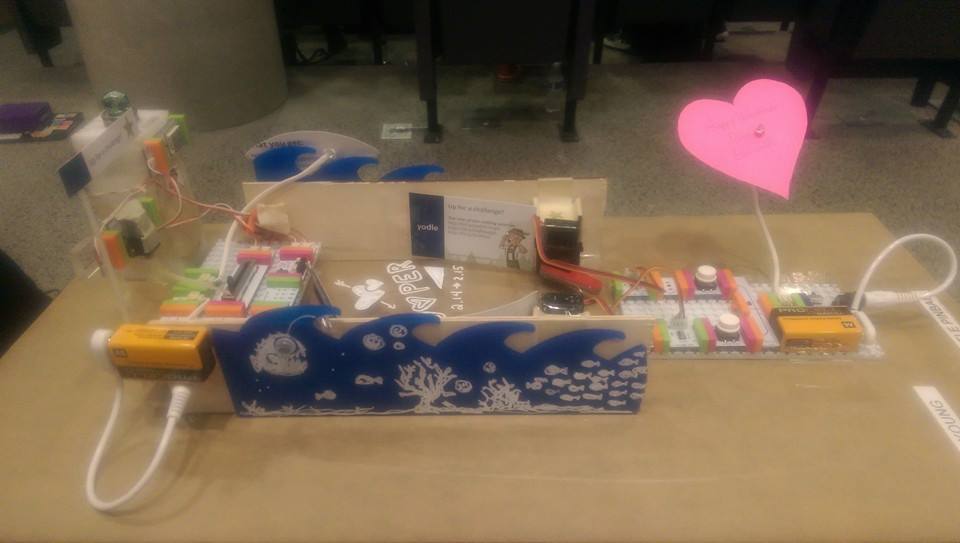
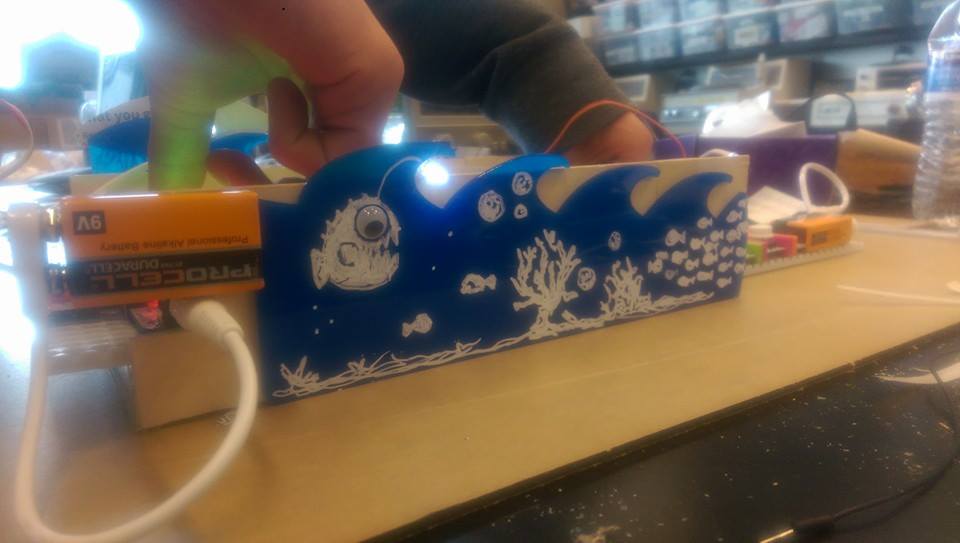
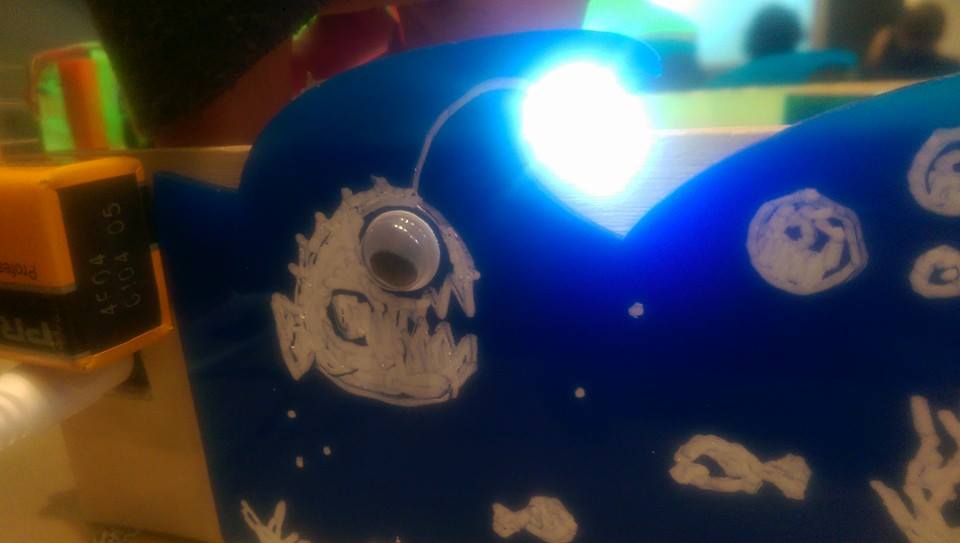
2 thin pieces of blue acrylic cut into wave shapes which we found in the scrap pile and recycled for decoration
1 large piece of wood for the base
2 Yodle business cards for the pinball funnels
1 marble
The Scoring used:
1 Number to display the score
1 Slide Dimmer to set the score
1 Roller Switch to activate motor
1 DC Motor to rotate ziptie
1 Bargraph for decoration
1 Fork to separate the switch, dimmer, and LEDs
2 Splits to act as wires since we didn't have any
2 Long LED for decoration
1 Mounting Board to keep (mostly) everything together
1 Power on/off switch
1 Battery+Cable to provide power
1 ziptie to convert motor rotation into dimmer sliding
1 Yodle business card to create scoring button
1 large block of plastic to use as scaffolding for the score display and the motor
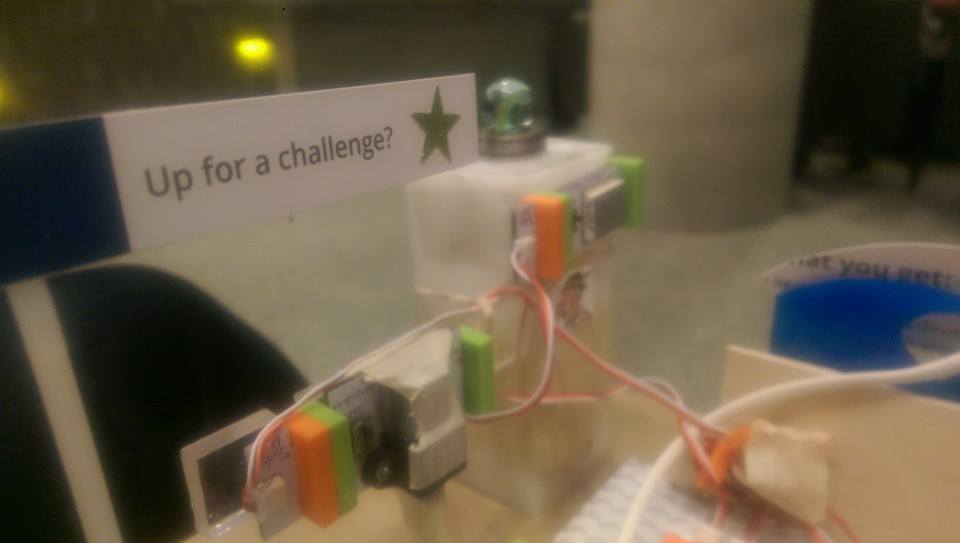
How littlePinball Works
On the Controller side, the player can press two buttons which flip the servo powered paddles.The goal is to hit the marble into the roller switch flipper. When the marble hits the roller switch, it sends a short pulse of power into the motor which is suspended above the slide dimmer. A ziptie attached to the motor pushes the slider further up as the player hits more and more balls into the flipper. Part of a Yodle business card makes the roller switch easier to hit.
The goal is to get your score from 0 to 99. Each time the roller switch is hit, it sets off a chain of events resulting in ~10-20 points depending on marble size and force.
How We Made It: Putting it all together
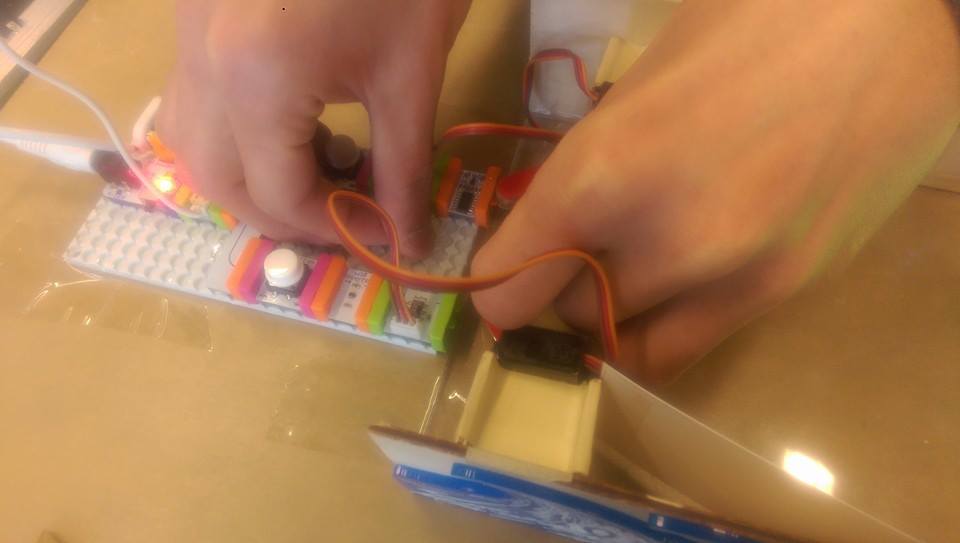
Around 90% of my time was spent in the machine lab trying to build the table pieces. Without a bandsaw, I was limited to hand tools and the laser cutter. Since I didn't have/know how to use CAD my laser cutter use was limited to rectangles. We also never used any glue or screws in the entire piece - everything is held together with masking tape, packing tape, or double-sided tape.
As for the electronics, working with littleBits made it really easy to prototype, modify, and build. There was no soldering, wire stripping, or mess-making at all. Most of the bits were pretty intuitive, and the sponsor/mentors were very friendly and helpful. Making a respectable hack without any software was only possible because of the huge selection of littleBits modules, so it was a real lifesaver that they were at HackCooper. I shudder at the thought of an alternate timeline where I have to demo a wood/acrylic birdhouse made out of nothing but laser-cut rectangles or something.
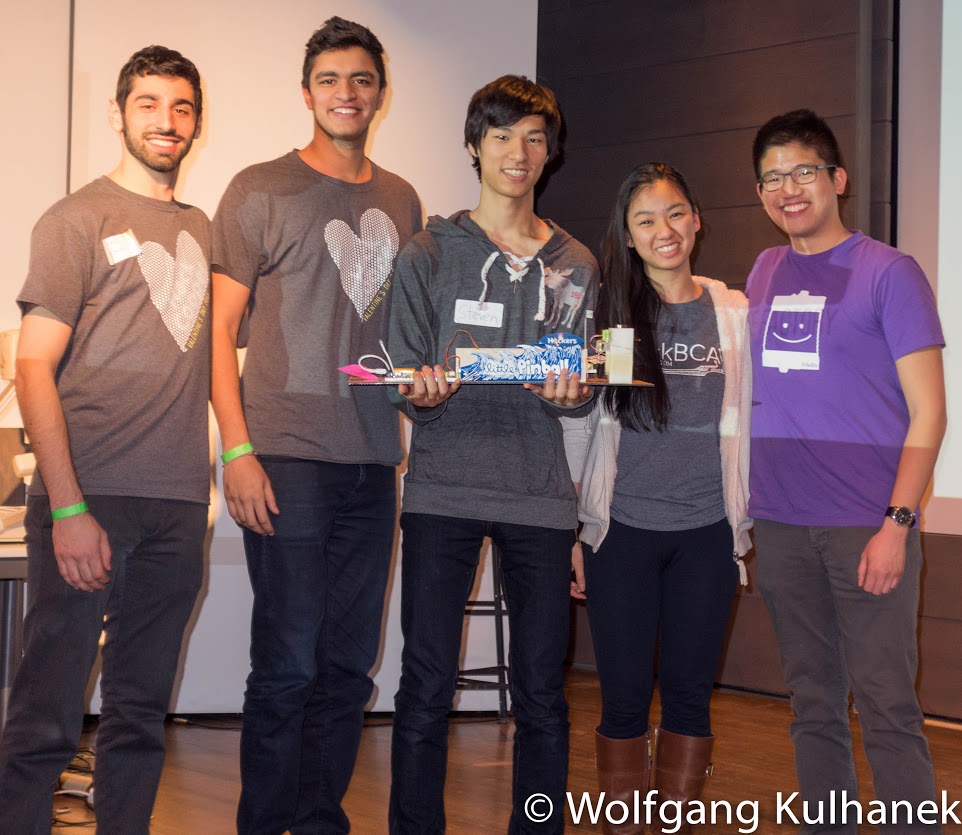
The End
We won both "Best use of littleBits" ($250 credit to littleBits store) and "Best Aesthetic" ($100) for our littlePinball hack which was super exciting. We ran into so many problems that had us almost leave a few times but we didn't give up, turned adversity into advantage, made something cool, and most importantly had a lot of fun. Software or not, I definitely felt the hacker spirit today.
Built With
- hardware
- littlebits


Log in or sign up for Devpost to join the conversation.